Getting Started
Here, we'll walk you through the steps of setting up a development environment on your school macbook so you can start working on personal projects/take home task for operations programming.
Download an IDE
Any IDE suited for front end development can be used here, however we are going to install vs code due to its easy to use and versatile features compared to more specific ihdes.
Download Visual Studio code from there website, you can find the link here. The reason we don't use self service here is that it does not have the latest version of VS code and could impact how much we can do (the version that self service has is extremely old). Make sure to download the macOS version.
Open up the zip file in your downloads folder and drag Visual Studio Code onto your desktop or prefered location for the .app file to be executable.
installing VsCode CLI (optional)
If you want vscodes command line interface follow below (makes parts of development easier):
- Download the Visual Studio code from their website here. Then move the "code" CLI file into your bin folder. You can follow these commands to make it easier, make sure you know where your file is located on your computer.
# make a bin folder in your root if you don't have one
mkdir -p ~/bin
mv /path/to/code/file ~/bin/

nano ~/.zshrc
- Now you can add the CLI to path by typing out:
export PATH = "$HOME/bin:$PATH"
Now press ctrl+x and enter to exit out of the editor
reload your .zshrc file , you can do this by doing:
source ~/.zshrc
# check if correctly added to PATH
code --version
Now you have the CLI (command line interface) installed!
Downloading Git
Git is an essential tool that should be used at all times when updating, reviewing, or building new code.
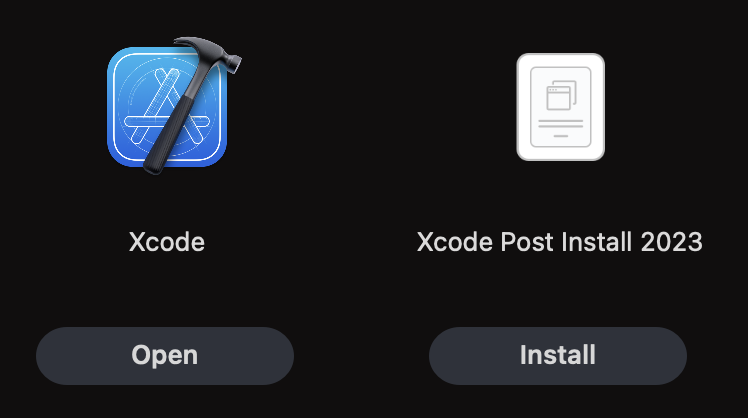
- Install "Xcode" from self service and make sure to install the "Xcode Post install script 2023" as well after Xcode is installed so that everything works.
- You can look at the git resources in the programming section here. It is essential that you have a good understanding of git to be on the subteam.
Downloading Node Js
Node JS is a javascript runtime that we use to build web apps.
- Install the Node Js prebuilt binaries from here. Make sure you select MacOS and ARM64 for your options.

- Now install and open the tar file on your computer to your desired location. Then you need to add the source file to your PATH. Open up a terminal instance on Vscode by using the top menu. Once you have your terminal open, type this command in to edit your PATH:
nano ~/.zshrc
- Now that you have the editor open, add to PATH using this command. Make sure you know the path from the root directory of the Macbook to the bin folder in your node folder that you have perviously installed.
export PATH="$HOME/path/to/bin/folder:$PATH"
- Now press ctrl+x + enter to exit the editor. You can test if your node is correctly added to PATH though this command:
node -v
You are now ready to start making svelte apps with node js on your school macbook! Please see the svelte tutorial here